How to Choose and Install Voltset Solar Panels for Your Home
Are you looking to make your home more energy-efficient and save on your electricity bills? Look no further! At HomeSolarDIY.com, we are passionate about helping homeowners like you harness the power of the sun through solar installation. In this comprehensive guide, we will walk you through the process of choosing and installing Voltset solar panels for your home, empowering you to take control of your energy consumption and contribute to a greener planet.
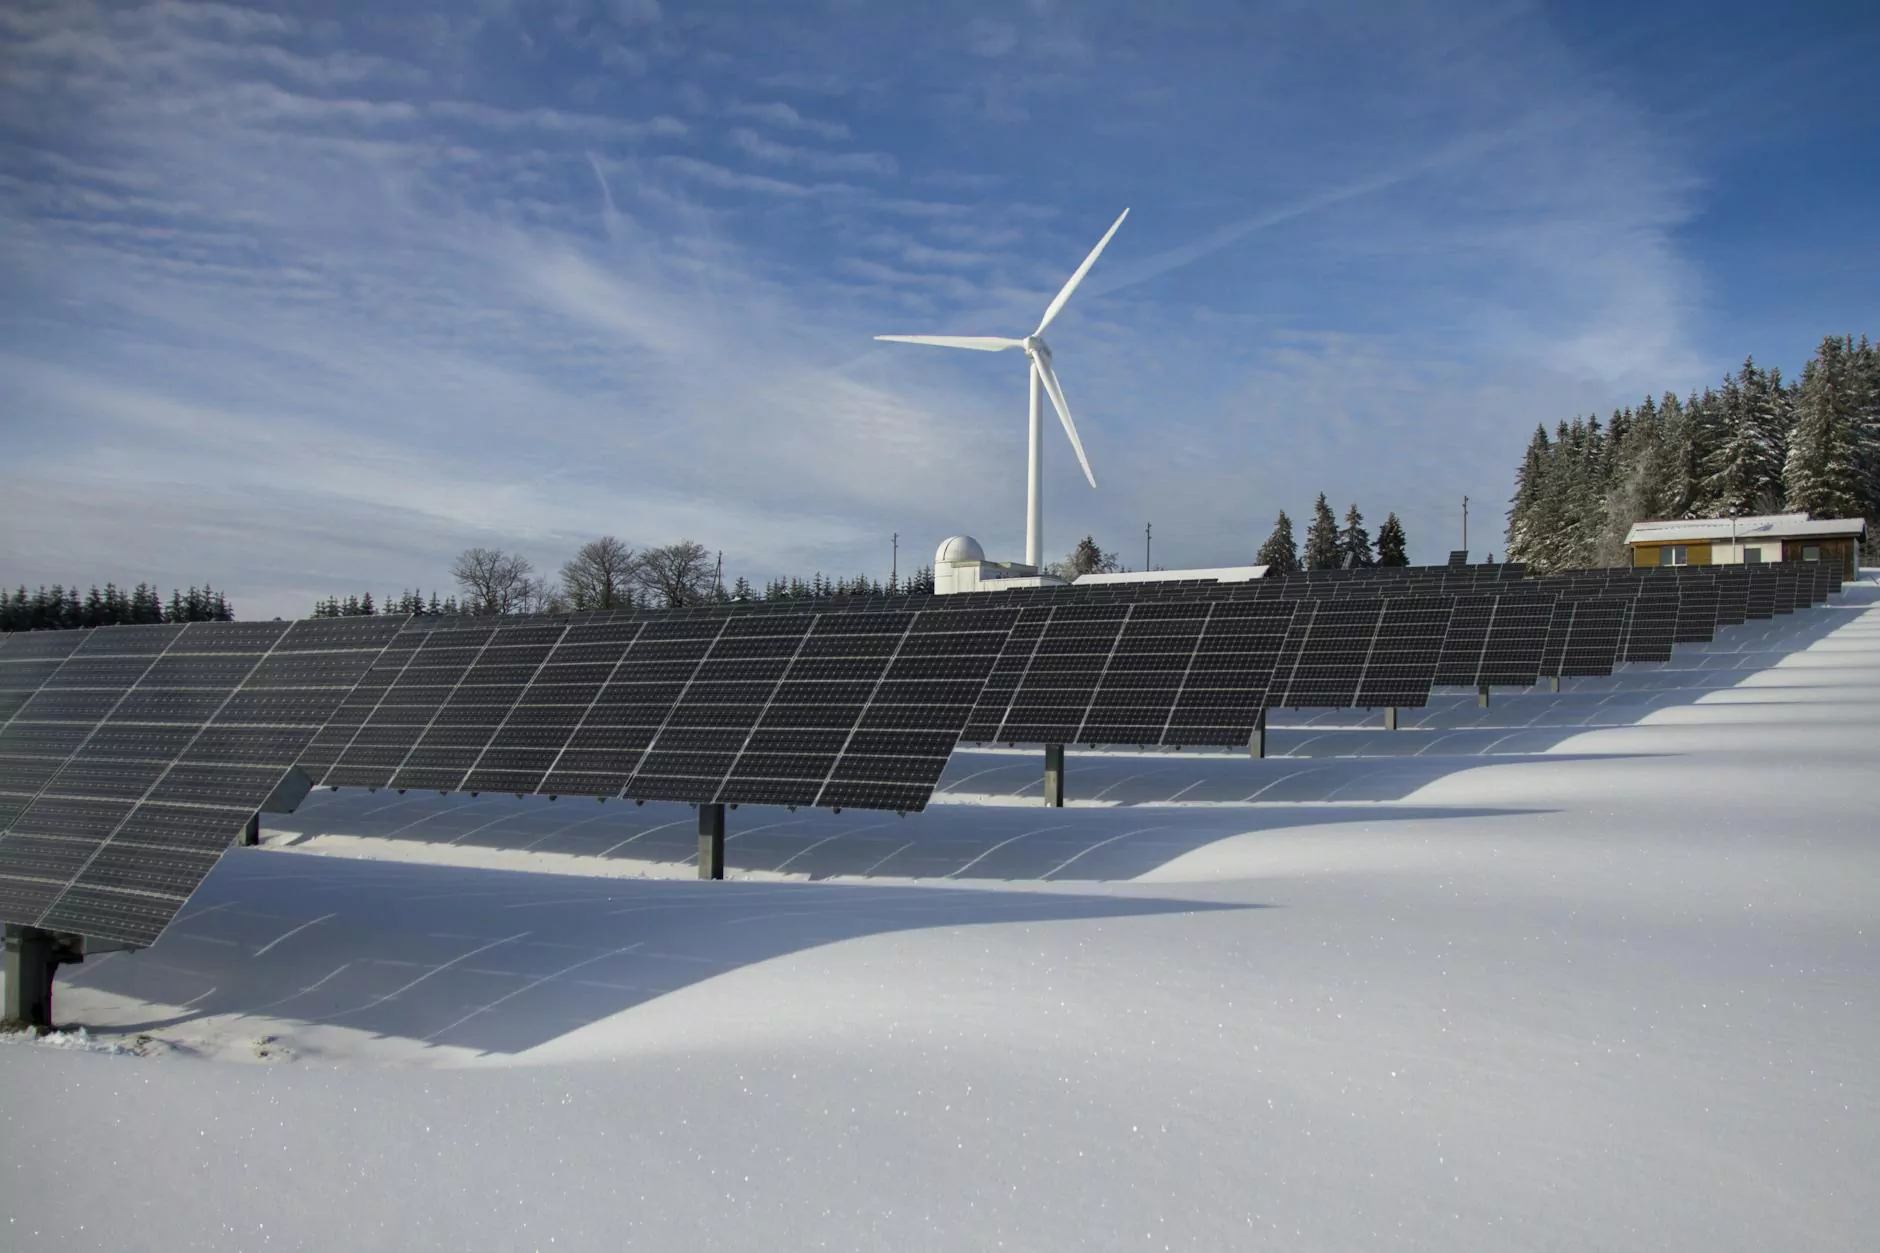
Understanding the Benefits of Solar Energy
Solar energy offers numerous benefits, both for the environment and your pocket. By installing solar panels on your roof, you can:
- Significantly reduce your carbon footprint.
- Save on your monthly electricity bills.
- Access government incentives and tax credits.
- Increase the value of your home.
- Enjoy a reliable and renewable energy source.
Choosing the Right Voltset Solar Panels
Selecting the right solar panels is crucial to ensure optimal performance and long-term savings. Voltset solar panels are known for their high efficiency and durability, making them an excellent choice for residential installations.
Step 1: Assess Your Energy Needs
Before diving into the world of solar panels, it's essential to evaluate your energy requirements. Consider factors such as your average monthly electricity consumption, available roof space, and budget. This analysis will help you determine the number of panels and the overall capacity you need for your home.
Step 2: Research Voltset Solar Panel Models
Voltset offers a range of solar panel models, each with its unique features and specifications. Take the time to research and compare these models, considering factors such as efficiency, power output, warranty, and price. Don't hesitate to reach out to our expert team for guidance in choosing the best Voltset solar panels for your specific needs.
Step 3: Consider Your Roof's Suitability
Assessing the suitability of your roof for solar installation is crucial. Factors to consider include the roof's orientation, tilt, shading from nearby objects, and structural integrity. Voltset solar panels can be installed on various types of roofs, including asphalt shingles, metal, and tile. If you have any concerns, consult a professional solar installer or contact our team for personalized advice.
Step 4: Evaluate your Budget
Investing in solar panels is a long-term decision, and considering your budget is a key aspect. While Voltset solar panels offer excellent value for money, it's essential to weigh the upfront costs against the potential long-term savings. Consider financing options and available government incentives to make your investment even more attractive.
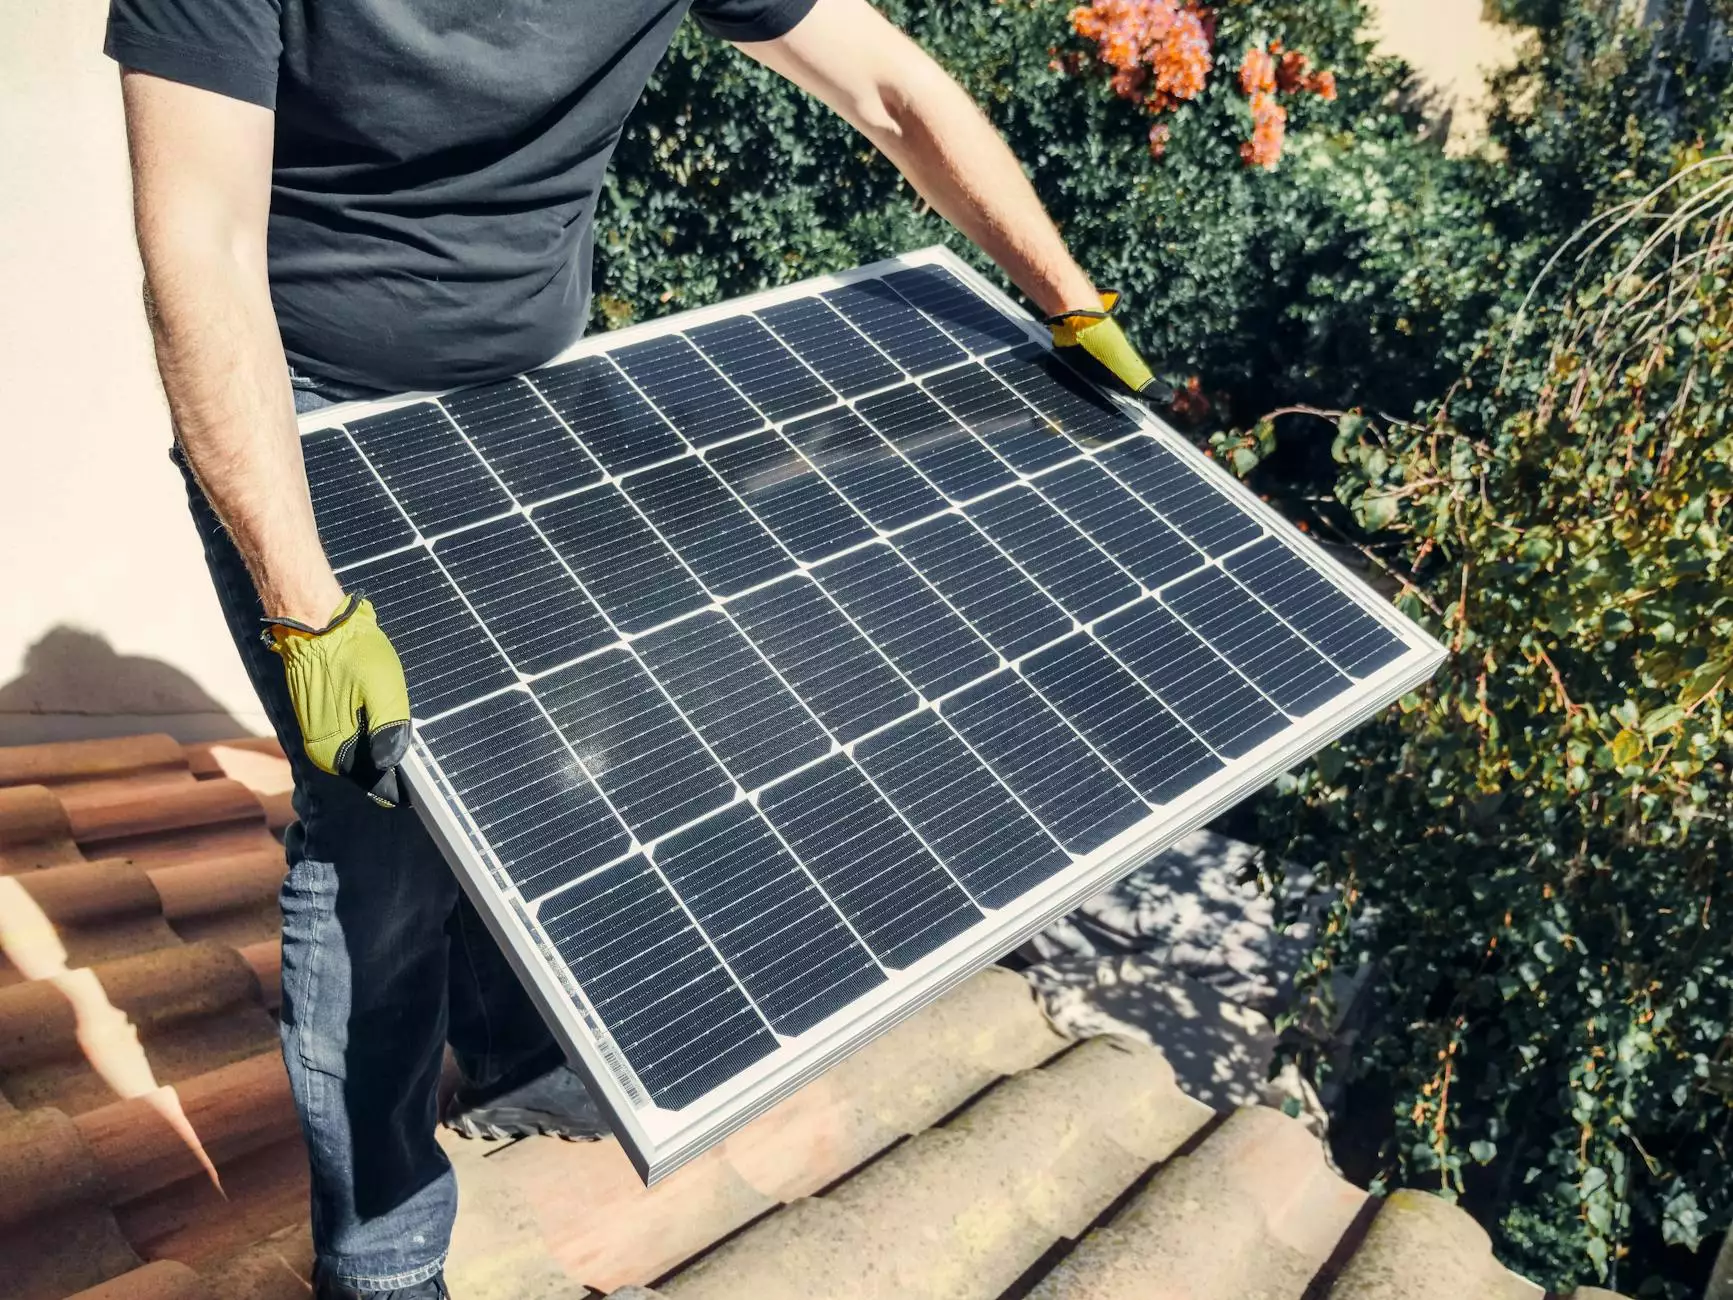
Installing Voltset Solar Panels
Now that you have selected the perfect Voltset solar panels for your home, it's time to move on to the installation process. While it is recommended to hire a professional solar installer for a seamless installation, if you are confident in your DIY skills, you can follow our step-by-step guide for a successful installation.
Step 1: Gather the Necessary Equipment
Make sure you have all the tools and equipment required for a smooth installation. This may include solar panels, mounting rails, inverters, cables, connectors, and safety gear such as gloves and goggles. Ensure that all equipment is compatible with Voltset solar panels and follow the manufacturer's instructions.
Step 2: Prepare Your Roof
Ensure that your roof is clean and free from any debris or obstructions. Install flashing and waterproofing materials as per the manufacturer's guidelines to prevent any leaks or damage to your roof.
Step 3: Mount the Solar Panels
Begin by installing the mounting rails on your roof. Ensure that they are securely attached and aligned correctly. Next, attach the Voltset solar panels to the mounting rails using the provided hardware. Follow the wiring diagram and connect the panels in series or parallel, depending on your system configuration.
Step 4: Install the Inverter
The inverter is a vital component of your solar installation, as it converts the DC power generated by the solar panels into usable AC power for your home. Follow the manufacturer's instructions to mount the inverter, connect it to the solar panels, and make the necessary electrical connections.
Step 5: Connect to the Grid
If you wish to connect your solar panels to the grid, you'll need to work with a certified electrician to ensure compliance with local regulations. They will help you install a bi-directional meter and connect your solar system to the electrical grid, enabling you to sell excess energy back to the utility company if permitted in your area.
Step 6: Test and Monitor Your System
Once your Voltset solar panels are installed and connected, it's essential to test your system and monitor its performance. Familiarize yourself with the monitoring equipment, such as data loggers or smartphone apps, to ensure that your solar panels are generating the expected amount of energy. Regularly review the data and contact a professional in case of any issues or concerns.
Conclusion
Congratulations! By following this guide, you are now equipped with the knowledge to select and install Voltset solar panels for your home. Remember that proper maintenance and monitoring are essential for maximizing the performance and longevity of your solar system. With the installation of Voltset solar panels and your commitment to renewable energy, you are not only embracing a sustainable future but also enjoying long-term savings on your electricity bills.
Start your solar journey with HomeSolarDIY.com today! Your investment in Voltset solar panels will not only benefit you but also contribute to a greener and more sustainable planet.